Welcome! This is tutorial will help you create your very first Convoworks service from scratch.
We’re going to create a very simple application and learn some basics about the Convoworks interface and components along the way.
What you’ll learn:
- Build a service from scratch
- Create blocks and add elements
- Output messages to users
- Handle user input
- Test your application
Let’s get started.
What We’re Creating
The following steps of this tutorial will guide you on how to build a simple “Order Pizza” application. The application will ask the user for the type of pizza they want and will give them an appropriate response in return.
Create a New Service

Create a new service by clicking on the Add New Service button in the top-right side of the Service Editor. This will bring up the Add New Service form which requires you to fill in the service name field. Enter “Order Pizza” as the name of the service.
You can choose another service template, but since we’re starting from scratch, just leave the default Blank template selected.
Now click on the submit button to proceed to your service’s page.
Once you’re there, you can start building your app.
Add a New Block
We have already defined our app’s simplified conversation flow in the What We’re Creating section. It should contain a question, user response to that question, appropriate reaction to the response, and confirm the order.
To help us accomplish all that, we’re going to create a “Pizza Menu” conversation block.
Blocks are one of the main types of service components and they represent stages of conversation. Each block has a Read Phase responsible for relaying some message to the user and a Process Phase which handles user response to that message.
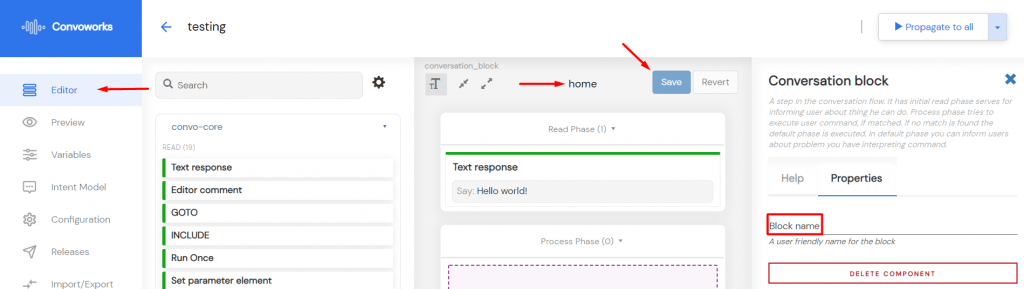
First, make sure the Editor link on the left sidebar is selected. Rename the placeholder ”Home” block by clicking on the ”home” and entering ”Pizza Menu” under Block name on the right. Click the Save button next.
We have our first block.
Now let’s replace the “Hello world” placeholder text.
Welcome Text
Click the ”Hello world” Text Response element in the ”Pizza Menu” block and change the text in the TEXT field on the right to: ”Hi! Welcome to Order Pizza!”. Save the changes.
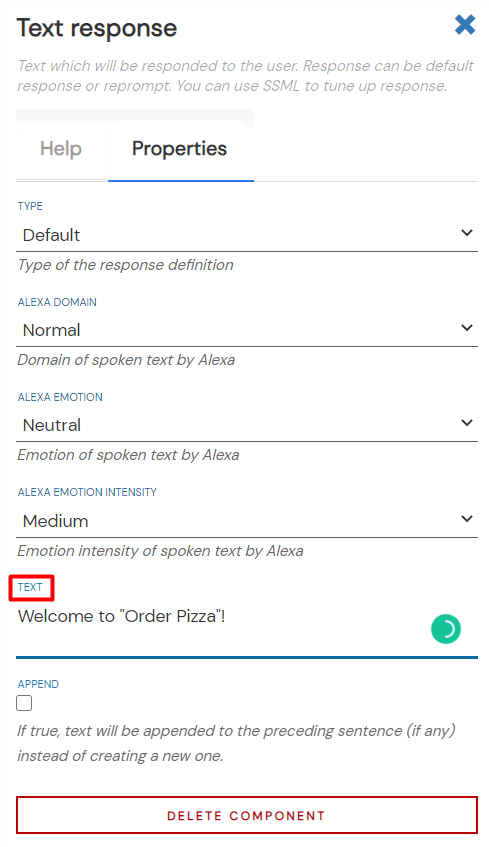
The Text Response element will output the message to the user.
You can fetch it from the menu on the left side of the Editor page. It’s part of the convo-core package whose elements we’ll be using in this tutorial.
If we were to test our service now, the message to the user would appear, but we wouldn’t have any way to handle the user response. We’ll change that in the next section.
Refine and Test
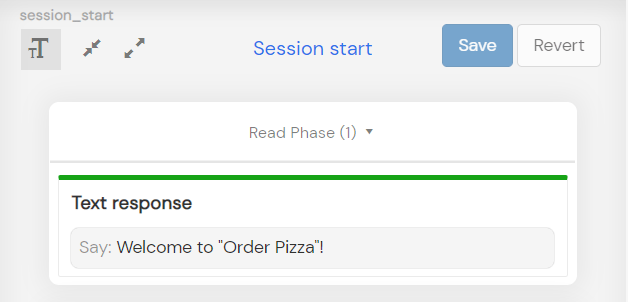
First, we’re going to move the welcome message element to the Read Phase of the __sessionstart system block. The __sessionstart block will be triggered only once, at the start of a new session, so it’s an ideal place for a welcome message.
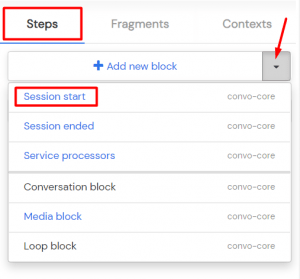
Add the __sessionstart block by selecting Session start in the Add new block dropdown on the right. Leave the default name and save the changes.
Now go back to the Pizza Menu block by selecting it in the Steps tab on the right. Right-click and cut the welcome Text response element then go back to the Session start block and paste it there in the Read Phase.
Next, drag a new Text Response element from the convo-core package and drop it in the Read Phase of the Pizza Menu. Add the following text: ”What pizza do you want?”. Save all changes.
Let’s test and see what happens.
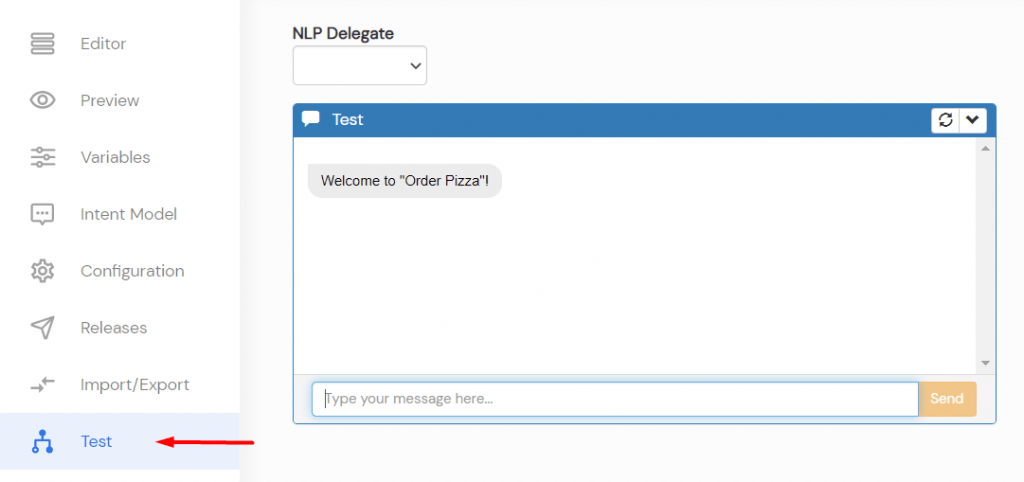
Switch to the Test tab. In the Test chatbox window, you’ll see only the welcome message appear. That’s because we haven’t actually specified that we should go to the Pizza Menu block from the __sessionstart block. We’ll use the GOTO element for that.
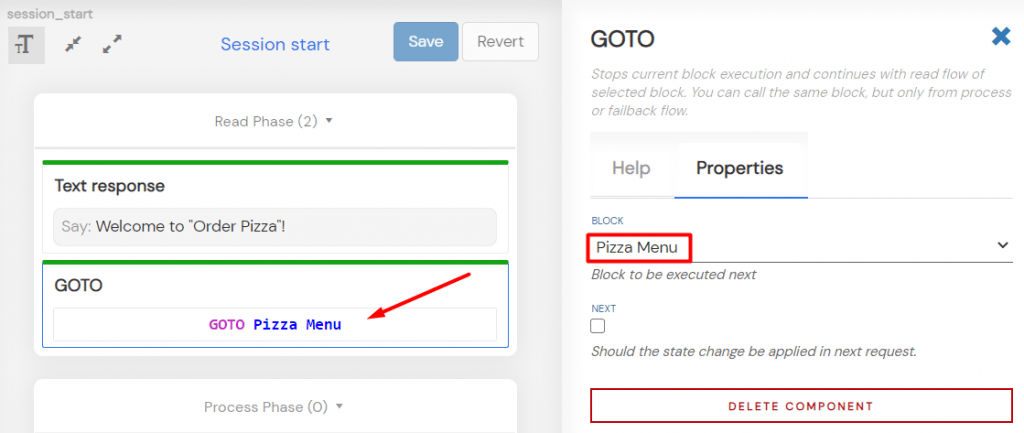
Switch back to the Editor page. Drag the GOTO element from the convo-core package and drop it in the Read Phase of the Pizza Menu block below the welcome text element. Click on the newly added GOTO element and select Pizza Menu in the GOTO BLOCK id dropdown. Save the changes.
You can now see the result on the Test page.
We have one more thing left in this section and that is handling incorrect user input.
We’ve mentioned that every block has a Read and a Process phase. Well, every block also has a fail-safe in the form of a Fallback stream. When there’s user input, the service will try to execute the Process Phase of the current block. If no processor is matched the Fallback stream will be executed instead.
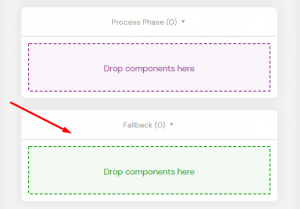
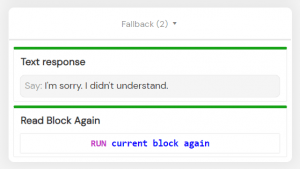
First, place a text element in the Fallback container of the Pizza Menu block and fill in the text field with the following text: ”I’m sorry. I didn’t understand.”. Then place the Read Block Again element in the Fallback container below the text element and save.
Now it’s time to test some input. Switch to the Test tab and type in some text in the chatbox message field then press the send button.
Because the Process Phase of the Pizza Menu block is empty, the Fallback container should be triggered. Once we’re in the Fallback container, the message is outputted and the Read Block Again element sends us back to the beginning, Read Phase. We’re stuck in the endless repeating of the same question.
To resolve this issue, we’re going to place a processor and a filter in the process phase.
Processing Input
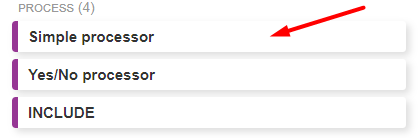
First, drag the Simple Processor from the process section of the convo-core package and drop it in the Process Phase of the Pizza Menu block.
Processors are components that are activated only if the right condition is met. They delegate matching responsibility to the third type of component, the Request Filters. If the right filter is matched, the OK Flow is triggered.
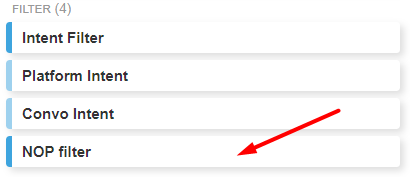
For this tutorial, we’ll only use a NOP filter.
Most of the Request Filters, excluding the NOP filters, match and read requests from intent-based platforms (Alexa, Dialogflow). NOP stands for no operation, and because the NOP filter is not connected to any platforms and doesn’t require configuration, it’s great to use in the early, testing phase of your app development.
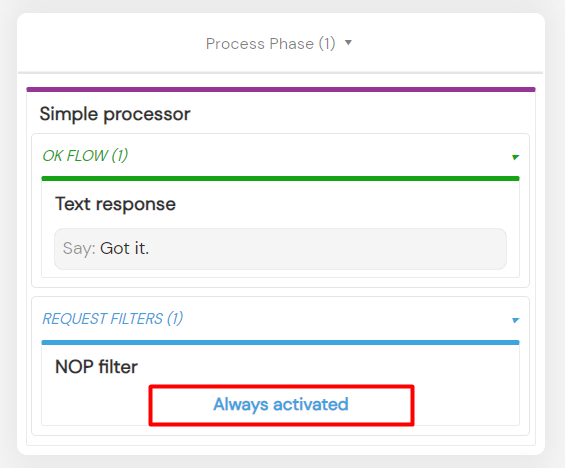
Drag the NOP filter from the filter section of the convo-core package and drop it in the Request Filters container in the Simple processor that you added previously. Place a text response element in the OK container of the simple processor and add the following text: ”Got it.”. Save the changes.
Let’s see what happens when we test.
The NOP filter has two properties that you can choose from the dropdown – empty and match. The default is empty, and that means that the filter won’t match any input and the OK flow won’t be triggered.
As a result, we’re still stuck in the fallback loop.
Go back to the Editor, click on the NOP filter, and choose match property from the dropdown. Save the change and go back to testing again.
As you can see, the OK flow of the processor is now triggered after each user input. That’s because the match setting on the NOP filter will match ANY user input, and the OK flow will always get triggered as a result.
Now that we’ve settled user input, the last step is to learn how to exit the current app session.
End Session
Create a new block by clicking the Add new block button and name it: “Exit”. We’ll travel to that block once the user’s placed their order. Place the GOTO element in the OK container of the simple processor in the Pizza Menu block. Select ”Exit” in the GOTO block id dropdown.
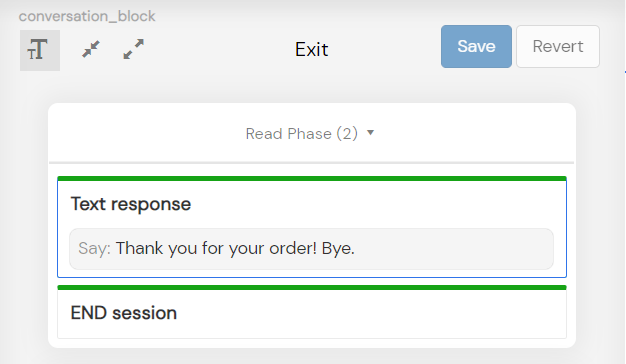
Next place the Text Response element in the Read Phase of the Exit block and add the following text: ”Thank you for your order! Bye.”. Drag the END session element and drop it in the Read Phase of the Exit block after the goodbye text. Save the changes.
You can do one final testing.
And that’s it.
You’ve just created your first Convoworks service.
Congratulations!