Welcome!
We’re going to use the ”Order Pizza” application we configured in the previous tutorial to learn the basics about using intents in your Convoworks service.
In the world of voice platforms like Alexa and Google Assistant intents are phrases received from users, used to perform specific operations. Each intent has to have at least one example phrase called utterance that can trigger it. Intents can be custom or built-in. A custom intent can retrieve variables in utterances and store them in slots.
Convoworks offers its own Intent Model which automatically propagates all intents to platforms of your choosing.
What you’ll learn:
- Add built-in intents
- Use a Yes/No processor
- Use Convoworks Intent model
- Test propagated intents
Let’s start!
Add built-in intents
First, we’re going to add a Help intent to the ”Order Pizza” app. It’ll be triggered when the user says ‘Help’ and It’ll explain what the service does.
Place a Simple processor in the Pizza Menu block, below or above the NOP Simple processor. Drag an Intent Filter from the filter section of the convo-core package and drop it in the Request Filters container in the newly added Simple processor.
Intent Filter matches and reads requests from intent-based platforms like Alexa and Dialogflow. We’ll use it in combination with Convoworks Intent Model and Convo Intent readers to match the desired intent.
Drag a Convo Intent also from the filter section and drop it in the Intent Readers container in the Intent Filter. Once the Convo Intent is nested inside the Intent Filter, click on the Convo Intent, and from the dropdown on the right select covo-core.HelpIntent.
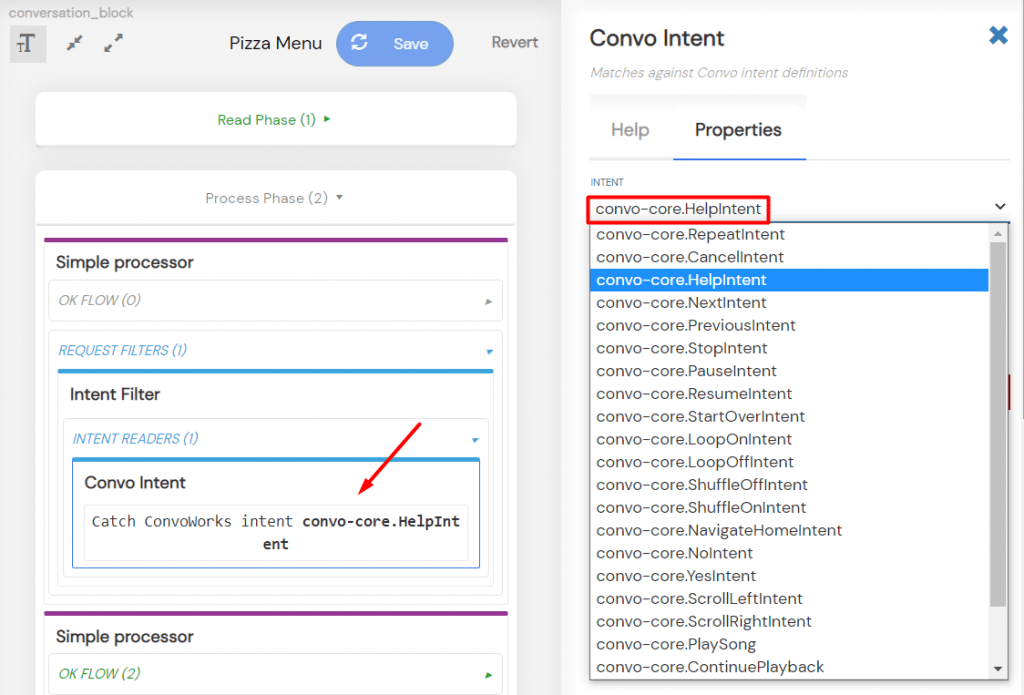
You can see the full list of the available built-in intents in the Convo Intent dropdown. They can be recognized by their convo-core prefix.
Save the changes.
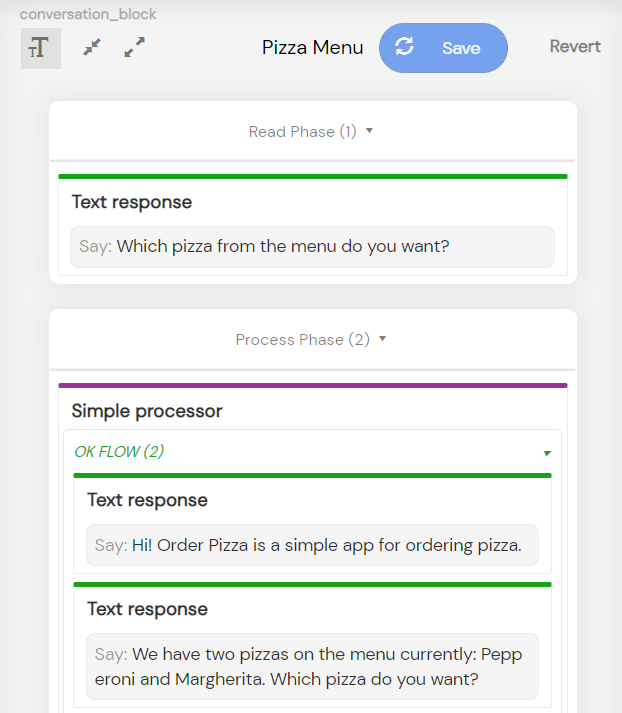
Add the following text in the OK flow: ”Hi! Order Pizza is a simple app for ordering pizza.”. Then add another Text response element and fill it in with this text: ”We have two pizzas on the menu currently: Pepperoni and Margherita. Which pizza do you want?”. Next, change the text in the Read Phase of the block to ”Which pizza from the menu do you want?”.
We don’t need to propagate because the built-in Help Intent is already included in the Amazon’s Interaction Model on the skill page.
Before testing, we need to switch off the NOP filter otherwise the Help Intent won’t trigger. Click on the NOP filter in the Pizza Menu block and select empty from the dropdown. Save the changes.
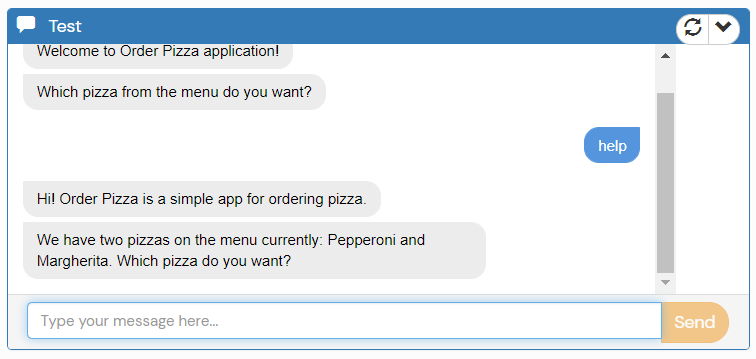
Now switch to the Test page and enter ‘help’ on the pizza type question. Help can currently only be triggered on the Pizza Menu block only. If you’d want the help processor to be available across the whole service, you could move it to the __serviceprocessors block.
Let’s add another built-in intent to the Pizza Menu block– convo-core.RepeatIntent. The intent will repeat the block content to the user when the user says ‘Repeat’. This intent is especially useful when the app contains a lot of text.
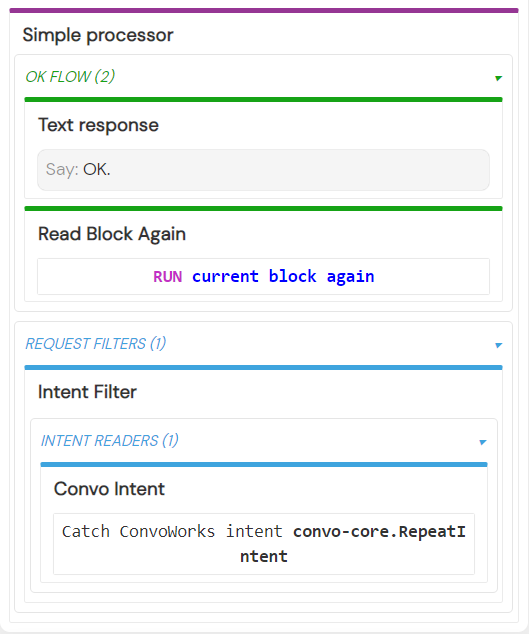
The process is the same as for the Help Intent. Start by adding another Simple processor or copy-pasting the Help one and finish by selecting covo-core.RepeatIntent in the Convo Intent dropdown.
If you pasted the Help Intent processor, delete everything from its OK flow.
Then add the text: ”OK.” and place the Read Block Again element below it.
Save the changes and test by entering ‘Repeat’ in the convo chatbox.
That’s it for the built-in intents in this section.
We’ll branch out the Exit processor a bit in the next section.
Branch out with a Yes/No processor
In this section, we’ll branch out the Exit block by adding a Yes/No Processor to it. We’re going to ask the user if they want to order another pizza.
Yes/No processor has two flows which are activated by the user answering in the affirmative or the negative. You don’t need to add any filters, but propagation is necessary.
Drag a Yes/No processor from the process section of the convo-core package and drop it in the process phase of the Exit block. Move the Text and End Session elements from the OK flow to the no flow of the Yes/No processor. Add a new Text response element to the OK flow with this text: ”Do you want anything else?”.
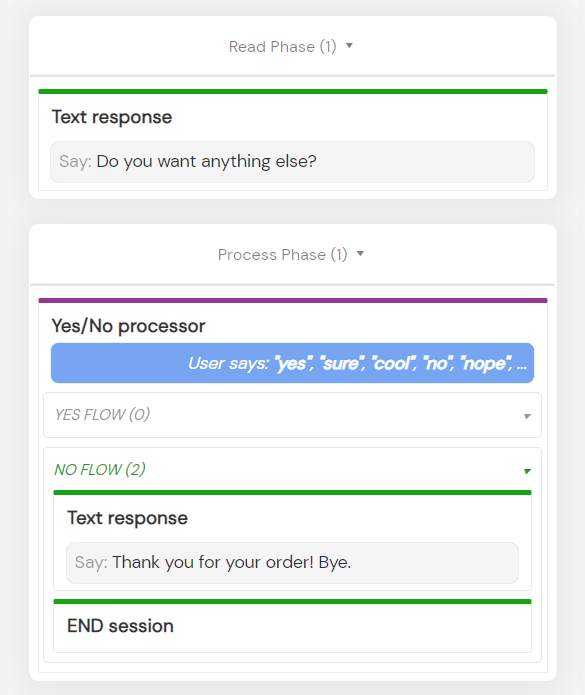
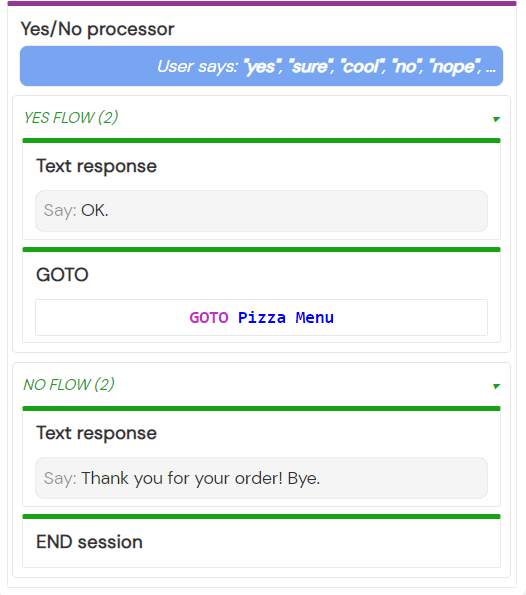
To the yes flow add a Text response with text: ”OK.” and below it a GOTO element. Click the element and in the GOTO dropdown select Pizza Menu.
Lastly, add the following text to the fallback container: ”I’m sorry. I didn’t understand. Did you want anything else?”
Save the changes and propagate to the platform/s of your choice.
Now switch to the Test tab and choose the NLP delegate. It has to be the platform you just deployed your changes to. We can now test the results.
In the upcoming section, we’ll learn how to create a custom intent using Convoworks Intent Model.
Create a custom intent
We’re going to create PizzaTypeIntent using Convoworks Intent Model and implement it in the Pizza Menu block.
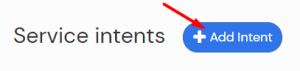
Switch to the Intent Model page on the ”Order pizza” service page. Then click the Add Intent button in the Service intents section.
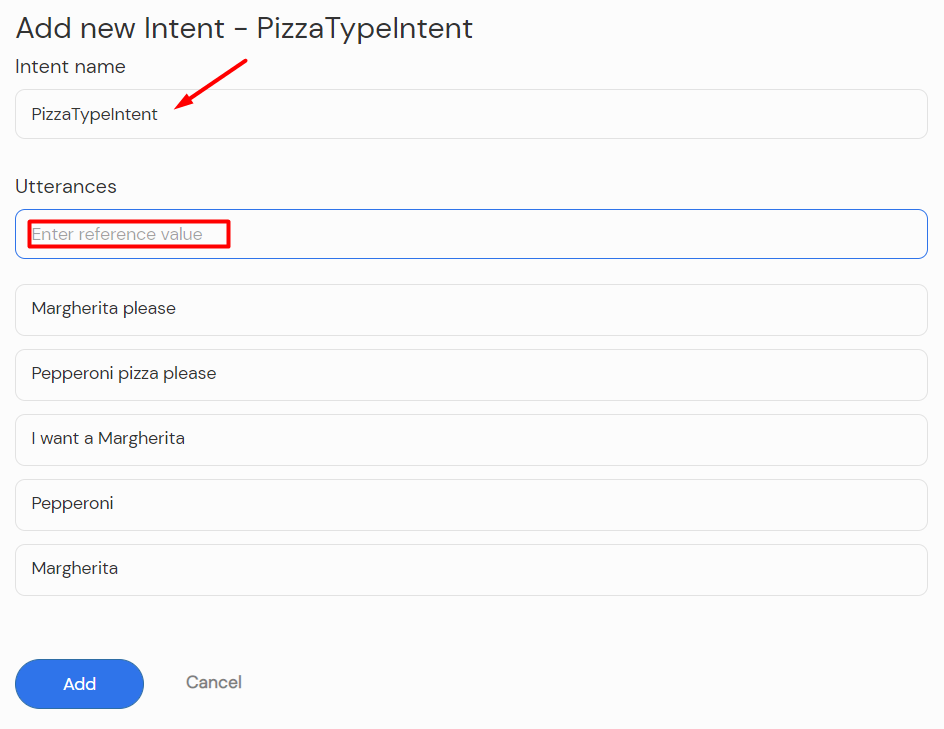
The Add New Intent form will appear. Fill in the ”Intent name” field with the name: ”PizzaTypeIntent”. In the Utterances field enter ”Margherita” then press enter on the keyboard. Let’s add another utterance.
Add ”Pepperoni” to the Utterances field and press enter.
Now, try adding a couple more. You can add something like: ”I want a Pepperoni pizza” and ”Margherita please”. The more utterances you add, the better the answer recognition will be.
Click the Add button once you’re done.
Save the changes you made. Then switch back to the Editor page. Delete the NOP filter from the processor in the Pizza Menu block and add the Intent Filter in its place. Nest the Convo Intent in the Intent Filter. Click on the Convo Intent and select PizzaTypeIntent from the dropdown on the right. Save the changes.
Make sure to propagate the changes to Amazon for the next part of this tutorial.
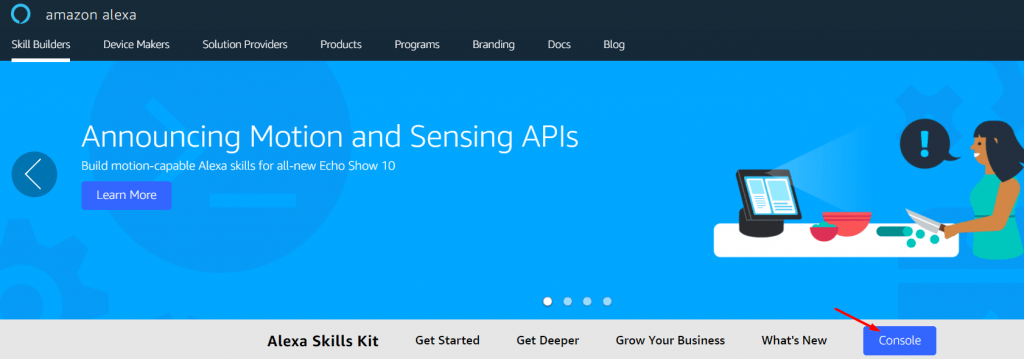
Log into your Amazon ”Order Pizza” skill account. You can find the link to the Alexa Skills Kit here: https://developer.amazon.com/en-US/alexa/alexa-skills-kit. Just click the blue Console button.
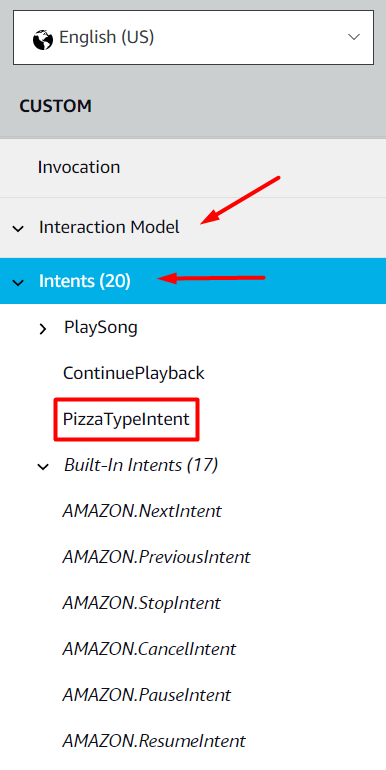
Once you’re on the skill page, click the Build menu item. Select the Interaction model and then, Intents from the sidebar on the left. It takes some time for the Full Build to finish but the PizzaTypeIntent should appear on the list of intents.
Yes and No Intents for the Yes/No processor should already be there.
Now switch to the Test page.
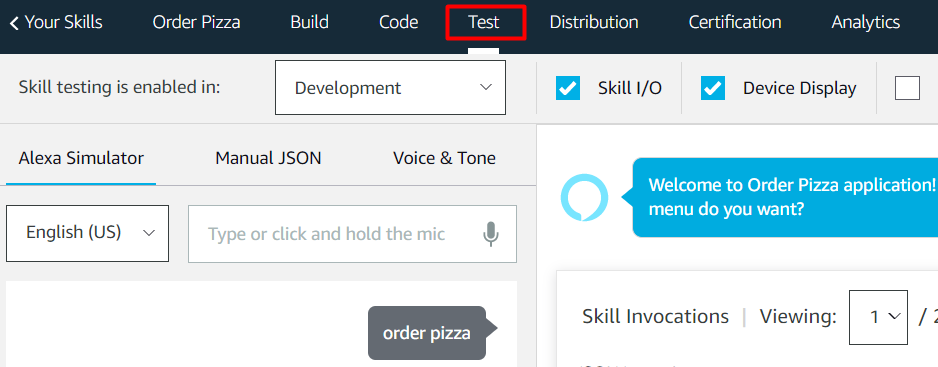
Invoke your skill in the Alexa Simulator and test it to make sure everything is working correctly.