Dialogflow is a natural language understanding (NLU) platform that can analyze multiple types of input from users, including text or audio, and can also respond to users in a couple of ways, either through text or synthetic speech.
It supports the Google Assistant Integration which enables communication with your Dialogflow Agent through Google Assistant. Incorporating this integration results in a modified request where the intents and slot values from Dialogflow and Actions SDK requests are merged into one request which Convoworks then processes.
In contrast to Amazon, we only have one type of platform configuration for Dialogflow in the Convoworks GUI – the Service Level Platform Configuration.
It offers two modes of configuration – AUTO and MANUAL. The AUTO mode is the one we recommend always using. It allows you to manage and test your Google Action in Convoworks Test panel with Dialogflow NLP delegate selected and it enables service propagation. Propagation allows Convoworks to deploy your app for you to a platform of your choosing, in this case, Dialogflow. For intent-based platforms, it propagates changes related to the intent model and webhook.
A Dialogflow agent is a virtual agent that you design and build to handle the types of conversations required for your system.
In order to set up the agent propagation, you first need to create and configure a Google Cloud Project. The process entails creating the project, then enabling the Dialogflow API, creating a new service account, and lastly creating and downloading the service account JSON file.
Create and configure a Google Cloud Project

- Start by signing in to your Google account or create a new one. Next, visit this link to create a new Google Cloud project: https://console.cloud.google.com/projectcreate
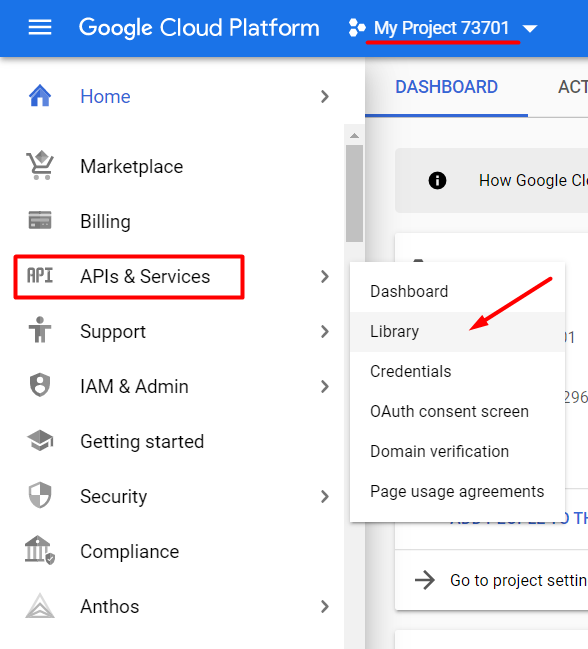
- Select APIs & Services on the project’s hamburger menu. Select the Library menu item on the sub-menu. Find and click the Dialogflow API card on the API Library. Enable the Dialogflow API.
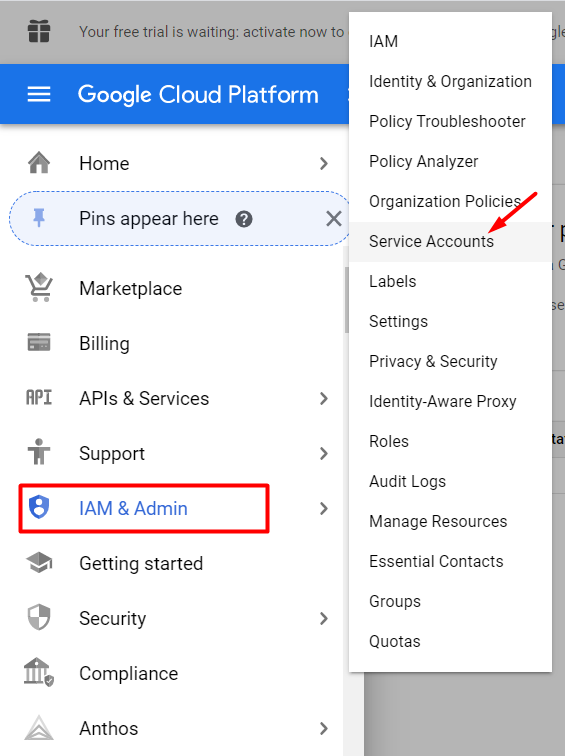
- Open the hamburger menu again and select the IAM & Admin menu item then the Service Accounts sub-menu item. Click the Create Service Account button at the top of the Service accounts page. Enter the Service account name and click the Create button. Next, select Dialogflow API Admin in the Role dropdown. Click the Done button.
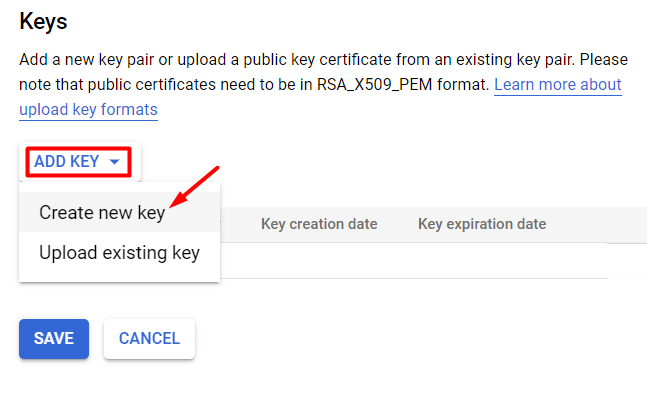
- Next, click the newly created account on the Service accounts table. Scroll down and click the Add key button in the Keys section. Select Create new key from the dropdown. A pop-up should appear, leave JSON as the key type, and click Create.
Service level platform configuration for service propagation
Open the downloaded JSON file and copy the content. We need it for service configuration in the Convoworks Editor.
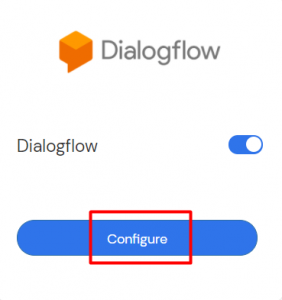
To access your service configuration first select the service from the Services view of the Convoworks Editor. Then open the Configurations menu item, scroll down and click the Configure button on the Dialogflow card.
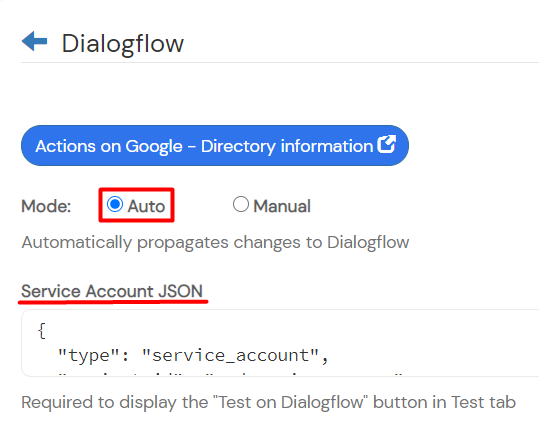
This will take you to the Dialogflow configuration form. Set the Mode to AUTO and paste the JSON file contents in the Service Account JSON field. Enter Agent Name and Agent Description. Next, click the Create button.
To check if the Dialogflow Agent was deployed, switch to the Test panel on your service’s page. Next, click the Test on Dialogflow button. You should now be redirected to the service’s Dialogflow page.
In the next section, we’ll connect the Dialogflow Agent to a Google Action project.
Google Assistant Integration
As mentioned in the intro, Google Assistant Integration enables communication with your Dialogflow Agent through Google Assistant. It also lets you access the Actions console simulator where you can test your project.
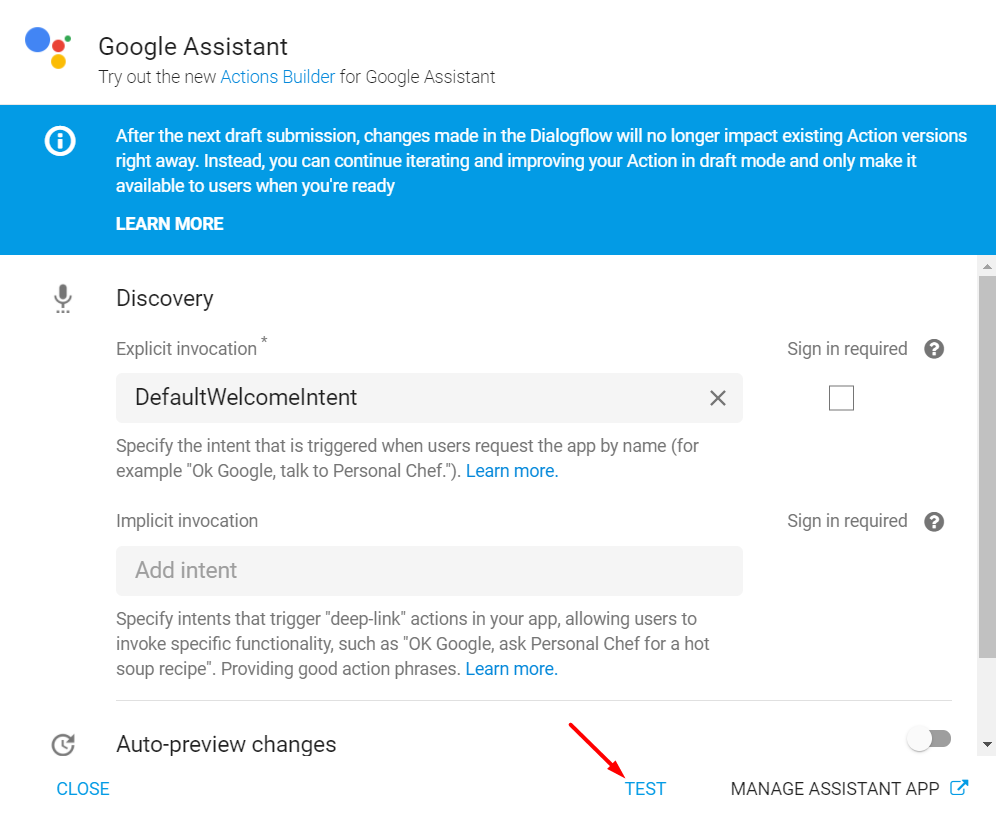
To access integration options, first, make sure the service’s Dialogflow console is still open. Then from the left-hand menu, click Integrations. Next, select Integration Settings. When the Google Assistant pop-up appears, click the TEST option. You’ll have to wait for a bit while your project is being created on the Actions on Google platform. Once the update is done, you’ll be transferred to the Actions console simulator.