You’ve got your ”Order Pizza” service tested and working and now you’re wondering how to deploy your service to Amazon so you can prepare it for publishing on the platform.
This tutorial will guide you through the steps.
Link your account to Amazon
Account linking is very important if you want to manage and eventually publish skills on Alexa.
The first step in account linking is the User Level Platform Configuration. It enables you to use the platform-specific API. You can view the Amazon Platform Configuration form by clicking on the Configuration menu item in the Convoworks GUI and choosing Amazon Configuration from the dropdown.
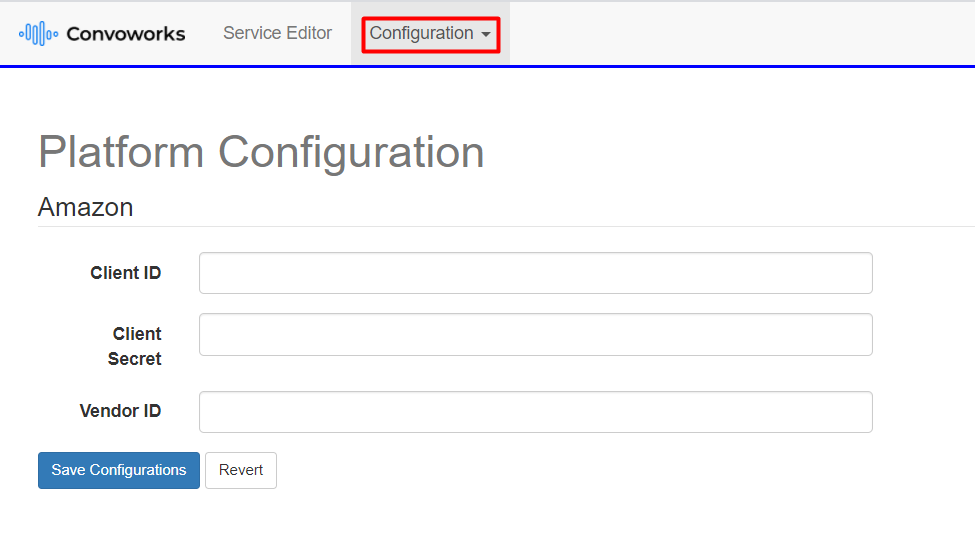
As you can see, we need the Client ID, Client Secret, and Vendor ID data.
- If you don’t have an Amazon Developer account already you can create one here: http://developer.amazon.com. Click the Sign In menu item.
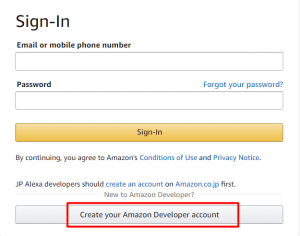
- Log into your account then visit https://developer.amazon.com/dashboard and click on the Login with Amazon menu item. You can get the Client ID and Client Secret credentials by clicking on the Show Client ID and Client Secret if you have an existing Security Profile.

- To register a new Security Profile click on the Create a New Security Profile button. You should also add your return URL to Allowed Return URLs. Here’s a link with more details: https://developer.amazon.com/docs/login-with-amazon/register-web.html
- To get your Vendor ID just visit: https://developer.amazon.com/settings/console/mycid
Now, switch back to the Convoworks GUI and fill out the Amazon Platform Configuration. Click on the Save Configurations button once you’re done.
As the last step, click on the Configuration menu item and choose Link Amazon Account from the dropdown. Sign in to your account.
Configuration for service propagation
Propagation allows Convoworks to deploy your app for you to a platform of your choosing, in this case, Amazon. The Service Level Platform Configuration manages service propagation.
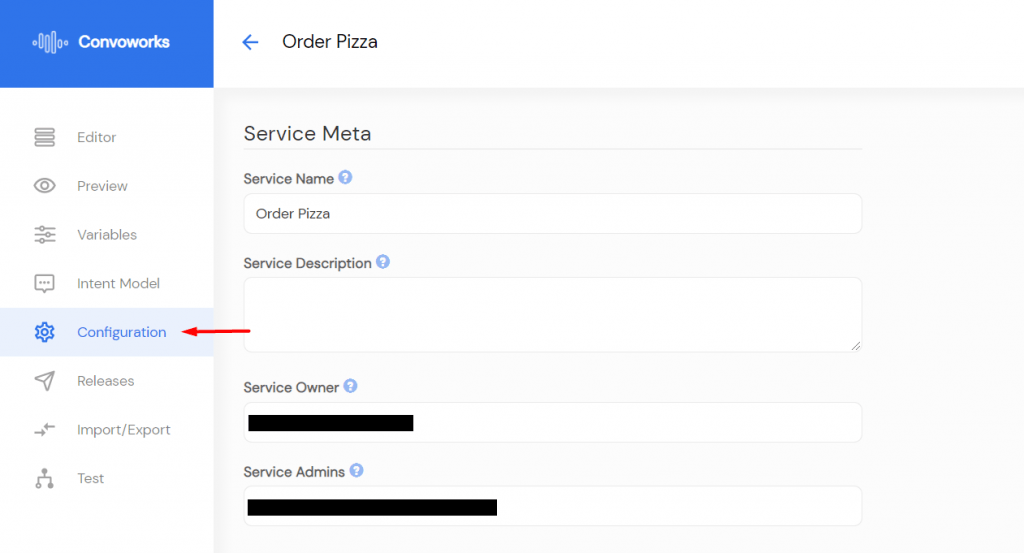
To access the ”Order Pizza” service configuration first select the service from the Services view of the Convoworks Editor. Then open the Configurations menu item, scroll down and click the Configure button below an Amazon Alexa title.
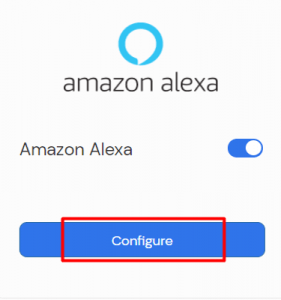
This will take you to the Amazon Alexa service configuration form. Set the Mode to AUTO. Leave the Skill ID field empty. The skill will be created and the data filled automatically. Click the Create button.
Let’s check if the skill was created in the Amazon developer console.
Visit this link: https://developer.amazon.com/alexa/console/ask.
”Order Pizza” should be listed in the Alexa Skills.
Testing on Amazon
Open the ”Order Pizza” skill in the Amazon developer console and navigate to the Test page. The Test page includes a simulator that lets you test your skill without a device. Locate the Test is disabled for this skill option and from the drop-down on the right, select Development as the skill-testing stage.

Test the skill by entering the skill invocation in the Alexa Simulator. You can interact with the simulator with your voice, but for this tutorial, we’ll just use text. Enter “order pizza” to start testing. Check if the skill is working correctly.
Now, let’s go back to the Convoworks service editor and change the welcome text a bit.
Change the welcome text in the __sessionStart block to: “Welcome to Order Pizza application”. Save the change then click the Propagate to all drop-down at the top of the service page and select Amazon.
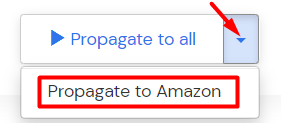
This will propagate the changes to the platform.
Switch back to the Amazon’s “Order Pizza” page and test the changes in the Alexa Simulator.


